

 By
When I began researching foam roller techniques, I noticed there was quite a bit of variety. Most guides explain where to position a foam roller, but few explain how to use it.
It is easy to think that harder or longer rolling on painful areas will lead to more success. But studies indicate that pressure, controlled movement and rolling time matter more than pushing through the pain.
I also saw that popular explanations, like breaking up muscle knots or releasing fascia, lack scientific evidence.
With this guide, I want to make foam rolling simple and accessible.
We will cover 5 techniques, how long to spend on each muscle, when to roll, and a 10 minute routine for the gym or home.
Before learning how to use a foam roller, it’s important to know what happens when you roll your muscles.
Many people believe foam rolling can unknot muscles, eliminate toxins, or physically release tight connective tissue. The scientific explanation is more complex.
In 2019, Behm and Wilke reviewed common explanations of self-myofascial release and raised doubt on some of them. No research to date has proven that foam rolling can break up adhesions or change the shape of fascia. Instead, some benefits may relate to how our nervous system responds to pressure, discomfort and stretching.
What does the research support?
1 Improved short-term flexibility
Foam rolling can temporarily improve joint range of motion. A 2020 meta-analysis concluded that it is as effective as stretching for flexibility gains, though these effects fade quickly.
2 Reduced muscle soreness
A 2019 meta-analysis concluded that post-exercise foam rolling modestly decreases perceived muscle soreness after heavy workouts.
3 Better movement preparation
I believe foam rolling can be a helpful warm-up activity, as it may increase short-term mobility without hurting athletic performance. It should not, however, replace dynamic exercises.
What Foam Rolling Doesn’t Do
Foam rolling does not consistently:
- Break apart muscle knots.
- Remove lactic acid from muscles.
- Make connective tissue longer on a permanent basis.
- Substitute for strengthening or rehabilitation exercises.
Many studies involve small numbers of healthy adults. That’s why I don’t consider foam rolling a full solution for recovery.
Here are 5 foam roller techniques that really work!
Each method is a different way of applying pressure. I suggest beginning slowly and adding pressure only if needed.
1 Long Sweeps
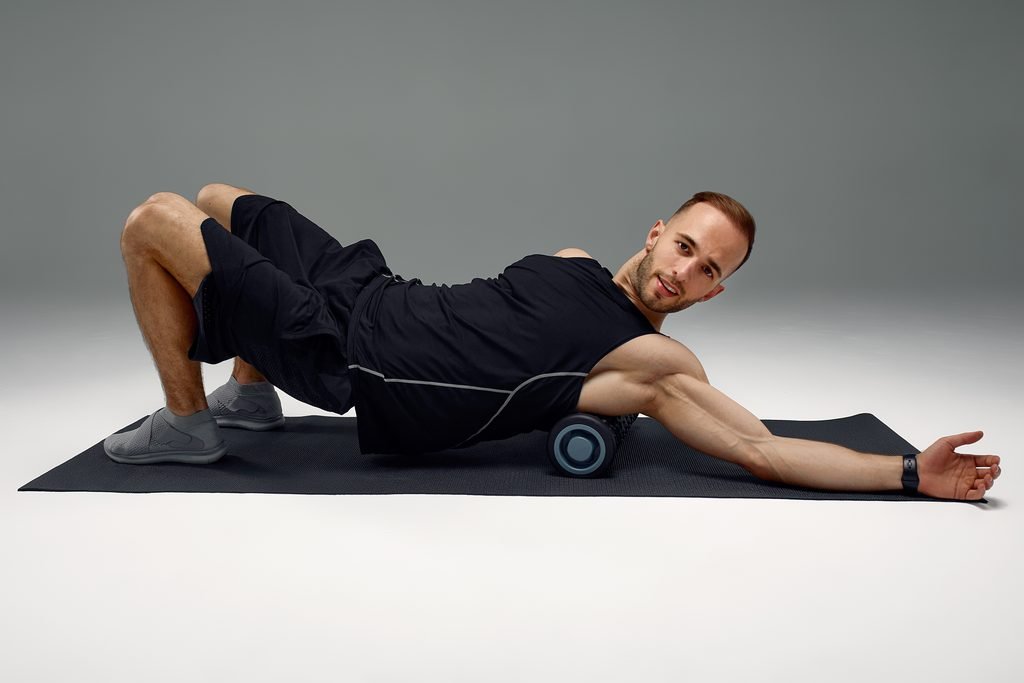
Long sweeps are one of the simplest techniques: slowly move the roller down the length of a muscle.
I suggest this as a starting point because it helps us find sensitive parts. Move at about 1 inch per second.
2 Short Kneading Strokes
After we’ve found a tender spot, we can use smaller movements. Roll 2-4 inches back and forth with comfortable pressure.
This suits the calves, quadriceps and upper back. Don’t rush through a sore area, but don’t force the pain either.
3 Sustained Holds
At times we can simply rest on a tender spot. Apply light pressure for about 20-30 seconds, breathing normally.
Once discomfort reduces, shift to another area. Longer or more painful holds are not proven to be more effective.
4 Cross-Friction Rolling
With cross-friction rolling, we slightly rotate our body to change the direction of pressure across the muscle. I think this is a good trick for larger muscles like the quadriceps and glutes. Keep the pressure lower, as few studies have compared it with standard rolling.
5 Pin-and-Move Technique
This technique combines sustained pressure with joint movement. For example, rest the roller under the calf while slowly flexing and pointing the foot.
It is popular among trainers, but has less research behind it. I suggest it as an optional variation, not a ‘must do’.
How Long, How Fast and How Hard? The Right Dose of Foam Rolling.
An error I see often is doing a few passes and assuming that’s enough. Rolling duration may affect results, but there is no single optimum dose.
| Variable | Practical Target |
| Time per muscle | 90–120 seconds |
| Tender spot hold | 20–30 seconds |
| Rolling speed | About 1 inch per second |
| Pressure | Moderate, around 5–7/10 |
| Frequency | 3 x/week, if tolerated |
In one study, 30 seconds of rolling did not improve ankle flexibility, but 90 and 300 seconds did. Greater pressure may not be better than lesser pressure.
These targets are not rules. They are practical starting points, and the optimum dose will vary with comfort, purpose and the person.
Pre or Post Exercise Foam Rolling?
I feel the best timing depends on what we are trying to accomplish.
Before a Workout
I suggest 30-60 seconds per muscle, followed by dynamic warm-up exercises. The aim is to increase temporary mobility, not fatigue our muscles.
After a Workout
Afterwards, we can spend more time on the muscles we worked. About 90 seconds per muscle is a good place to begin. This may help decrease soreness, though responses vary.
On Rest Days
A short 5-10 minute session on days off can help us feel more comfortable, especially after sitting.
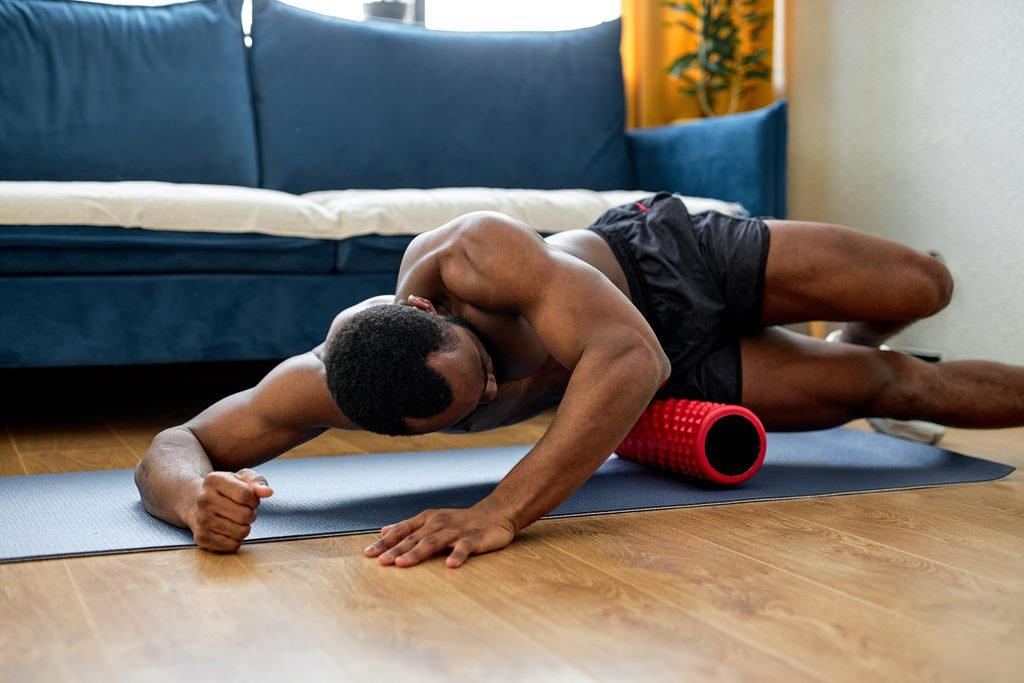
This is my 10-minute full-body foam rolling routine and it works wonders.
When I want a quick recovery session, I focus on the big muscle groups instead of going overboard on one.
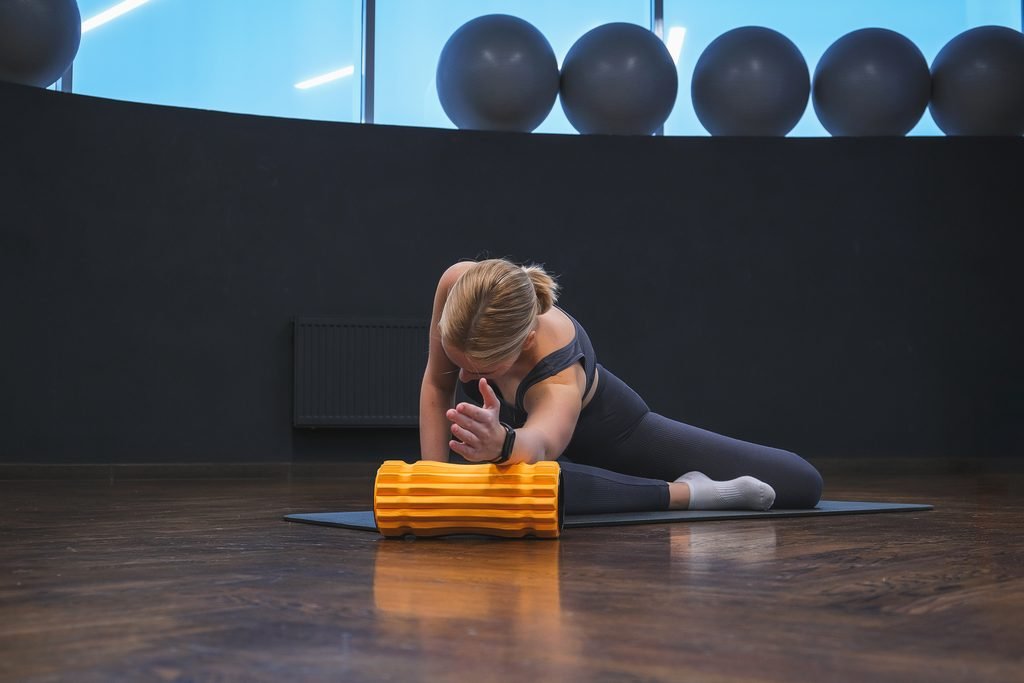
1 Calves
Sit on the floor with the roller under your calves. Using your hands for support, slowly move forward and backward. For more pressure, shift more weight onto the roller.
2 Hamstrings
Position the roller under the back of the thighs. Lift the hips slightly and roll slowly. Do not sit on the sitting bones.
3 Quadriceps
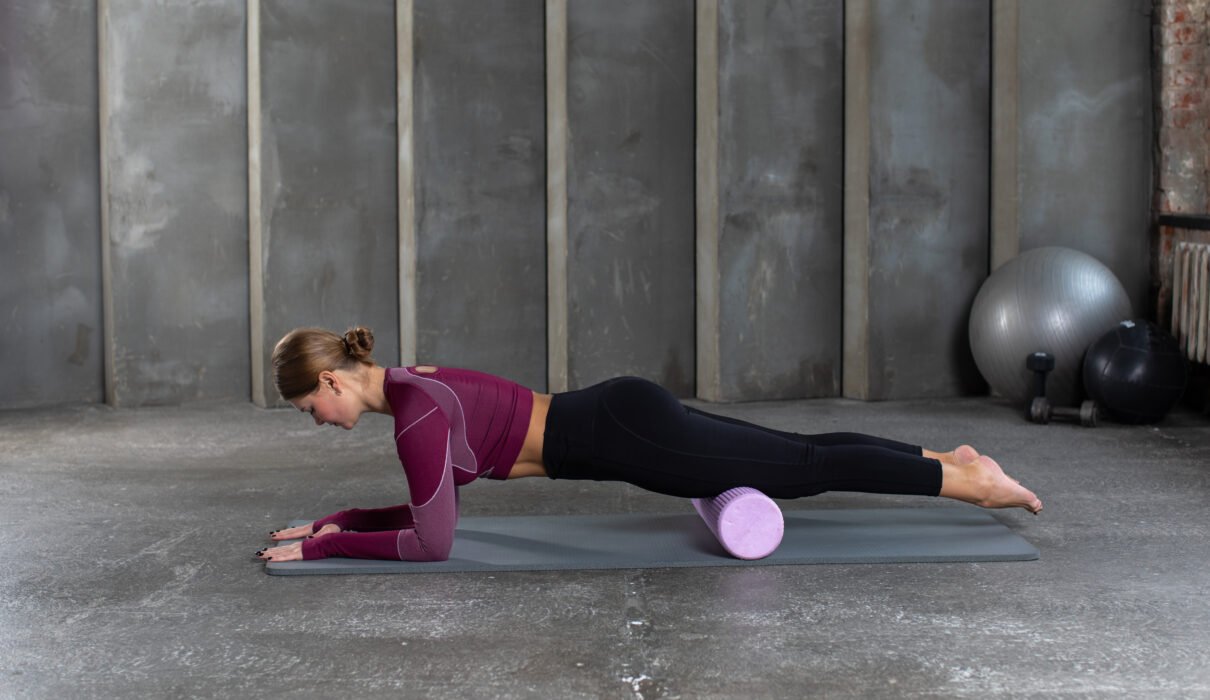
Lie on your belly with the roller under the front of the thighs, supporting your upper body with your forearms. Slowly roll from hip to just above the knee.
4 Glutes
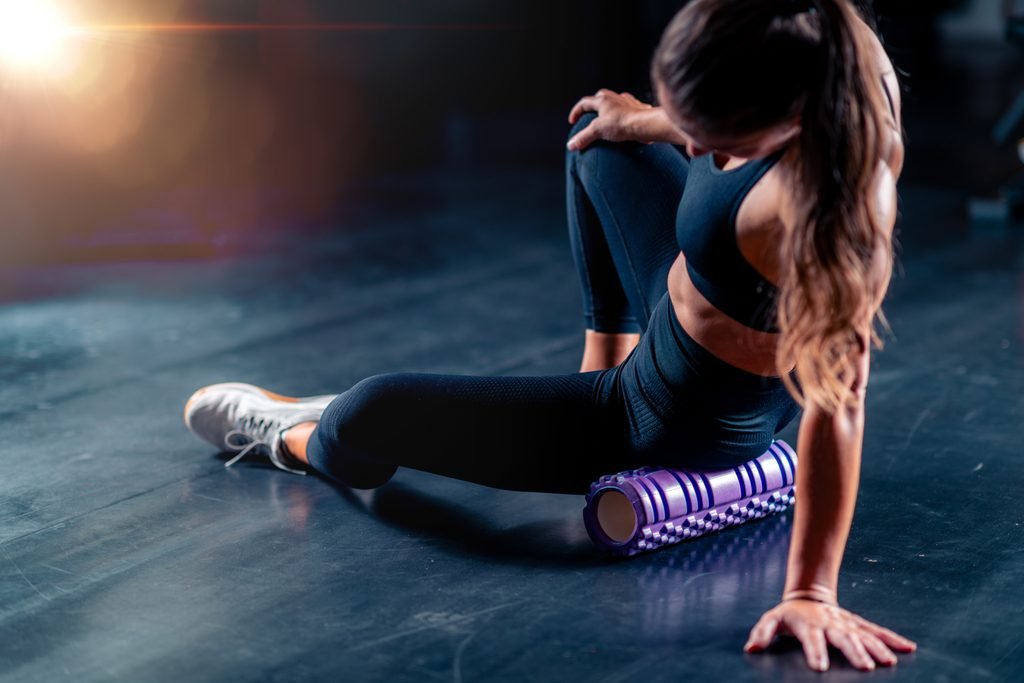
Sit on the roller and lean slightly to one side. Cross one ankle over the opposite knee for more pressure. Keep the movement controlled.
5 Outer Hip and Thigh
Lying on one side, focus on the outer quadriceps and surrounding hip muscles. I suggest going slowly rather than rolling hard over the IT band.
6 Upper Back
Put the roller under the shoulder blade line. Support your head if needed and move slowly. Do not roll on the neck or lower back.
7 Lats
Rest on your side with the roller under the upper outer back. Don’t put pressure on the armpit. Use short, controlled movements.
This splits about 10 minutes across these areas. With more time, extend rolling on the muscles that help most.
How I Pick the Right Foam Roller
All foam rollers are not created equal. They come in smooth, textured, soft, firm and vibrating versions.
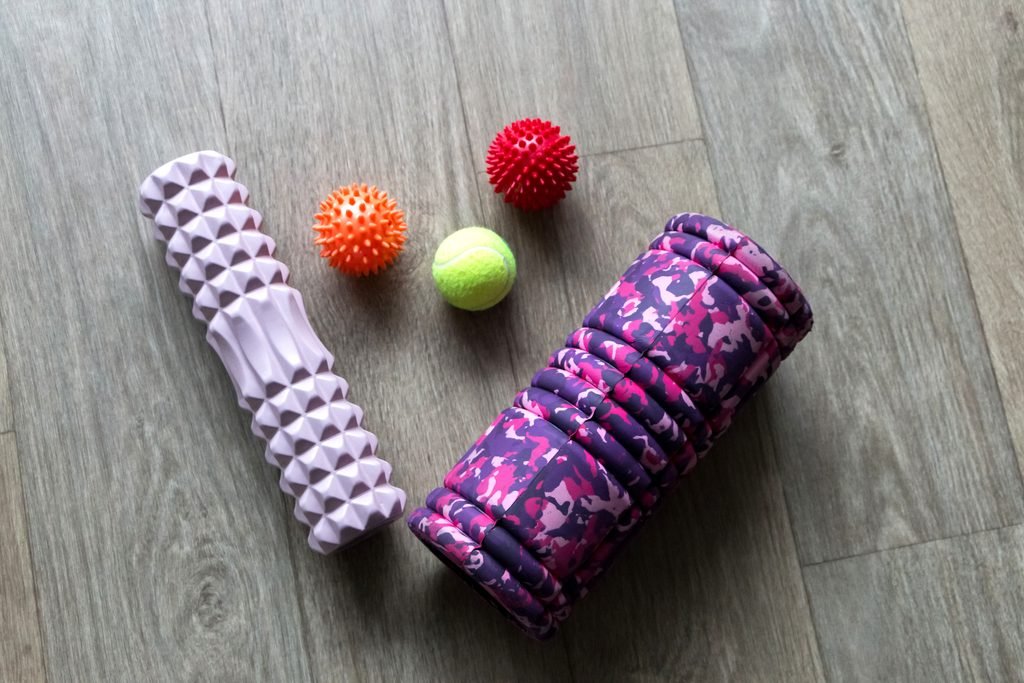
If you are new, I recommend a smooth, soft to medium density roller. Firmer rollers do not appear to be more effective, as some studies show similar results across densities.
Textured rollers exert more focal pressure, but not necessarily better results. Vibrating rollers may offer further advantages, but the results are inconsistent. Most people do fine with a basic roller.
Foam Rolling Safety: Areas to Avoid.
While foam rolling is safe for most healthy adults, I think safety deserves as much attention as technique. A 2021 international expert study identified important contraindications and precautions.
Avoid foam rolling over open wounds or fractures, and seek medical advice if you suspect a condition like deep vein thrombosis. Also check with a health care professional before rolling if you are on blood thinners, recovering from surgery, or have a major health condition.
Areas to Avoid
It is not advisable to apply direct pressure over:
- The neck.
- Knees, elbows and other joints.
- Prominent bones.
- The spine itself.
- A lower back that hurts when touched.
I like to work on the muscles around these structures instead of directly on them. If you feel sudden pain, numbness, tingling or unusual swelling, stop rolling.
The Most Common Foam Rolling Mistakes That Can Hinder Progress
Applying Excess Pressure
It’s easy to think “more pain, more gain.” But too much pressure creates discomfort without improving results.
Rolling Too Quickly
Fast rolling makes it harder to control pressure and notice sensitive areas.
Overexposure to a Single Location
Holding pressure for several minutes is not necessarily better. A shorter hold is often a more comfortable start.
Ignoring Pain Signals
Don’t mix up extreme pain with productive recovery. Stop and reassess if pain is sharp or radiating.
How to Monitor Your Foam Rolling Progress
We don’t need complicated equipment to tell whether foam rolling is working. A few practical measures are enough.
Mobility: Do the joints move better before and after rolling?
Muscle soreness: Is there any difference after challenging exercise?
Workout performance: Does rolling prepare us to train without hindering exercise?
Consistency: Do we roll regularly, or only when things feel bad?
Daily movement: Do walking, bending and squatting feel easier?
These observations won’t prove foam rolling works for every goal, but they show whether it’s helping us.
My Final “Boring” Thoughts
Effective foam rolling doesn’t have to be complicated. It comes down to slow movement, manageable pressure, rolling time and consistent practice.
Foam rolling can help loosen tight muscles in the short term and ease exercise-induced soreness, but it will not break apart muscle knots or replace proper training. I suggest using it as one part of a larger fitness program that includes strength training, recovery and sleep.
The goal should not be to roll harder or tolerate more pain. It should be to help you move freely, recover well and build habits you can sustain over the long term.
